A shower floor looks simple until water sits in the corner and the tile cuts look like an afterthought. Most of those problems start with one decision: linear drain vs center drain.
Both can work well, but each choice forces different slope geometry, tile sizes, and layout rules. If we match the drain type to the tile plan early, we avoid “tiny slivers,” awkward corners, and the dreaded birdbath puddles that never quite dry.
Below is how we compare drains, then the layout habits we follow to keep the floor clean, flat-feeling, and fast-draining.
What really changes between a linear drain and a center drain
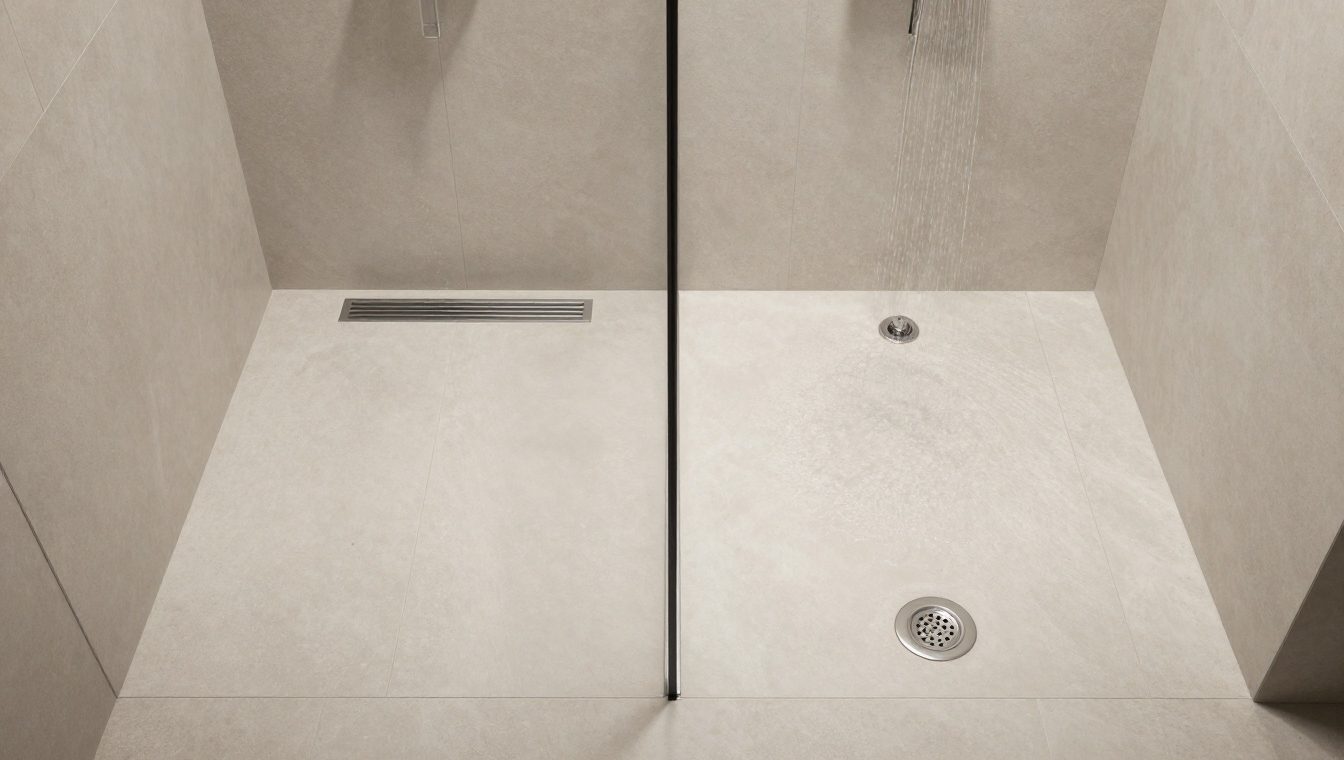
A center drain usually creates a four-way slope (often called an “envelope” slope). The floor planes pitch from multiple directions toward one point. That geometry is forgiving with small tile, but it fights large-format tile because big tiles don’t like twisting across multiple planes.
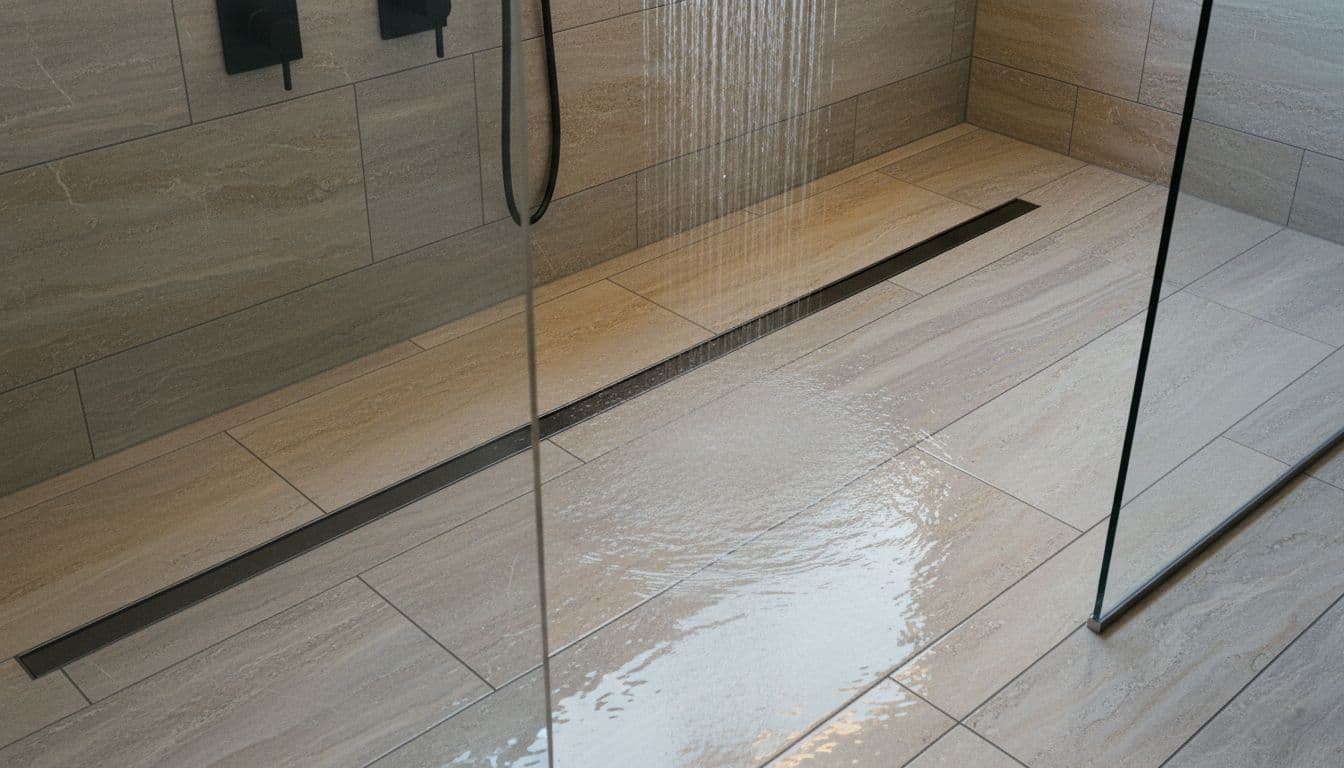
A linear drain collects water along a long channel, which allows a single-plane slope (one consistent pitch from the entry to the drain, or from one wall to the drain). That single plane is the reason linear drains often pair well with 12×24 or 24×48 porcelain. The tile can stay flatter, and the grout joints stay straighter.
Here’s the practical difference we see on real projects:
- Linear drain strengths: cleaner layout options with large-format tile, easier to keep the floor looking “calm,” strong fit for curbless designs when planned right.
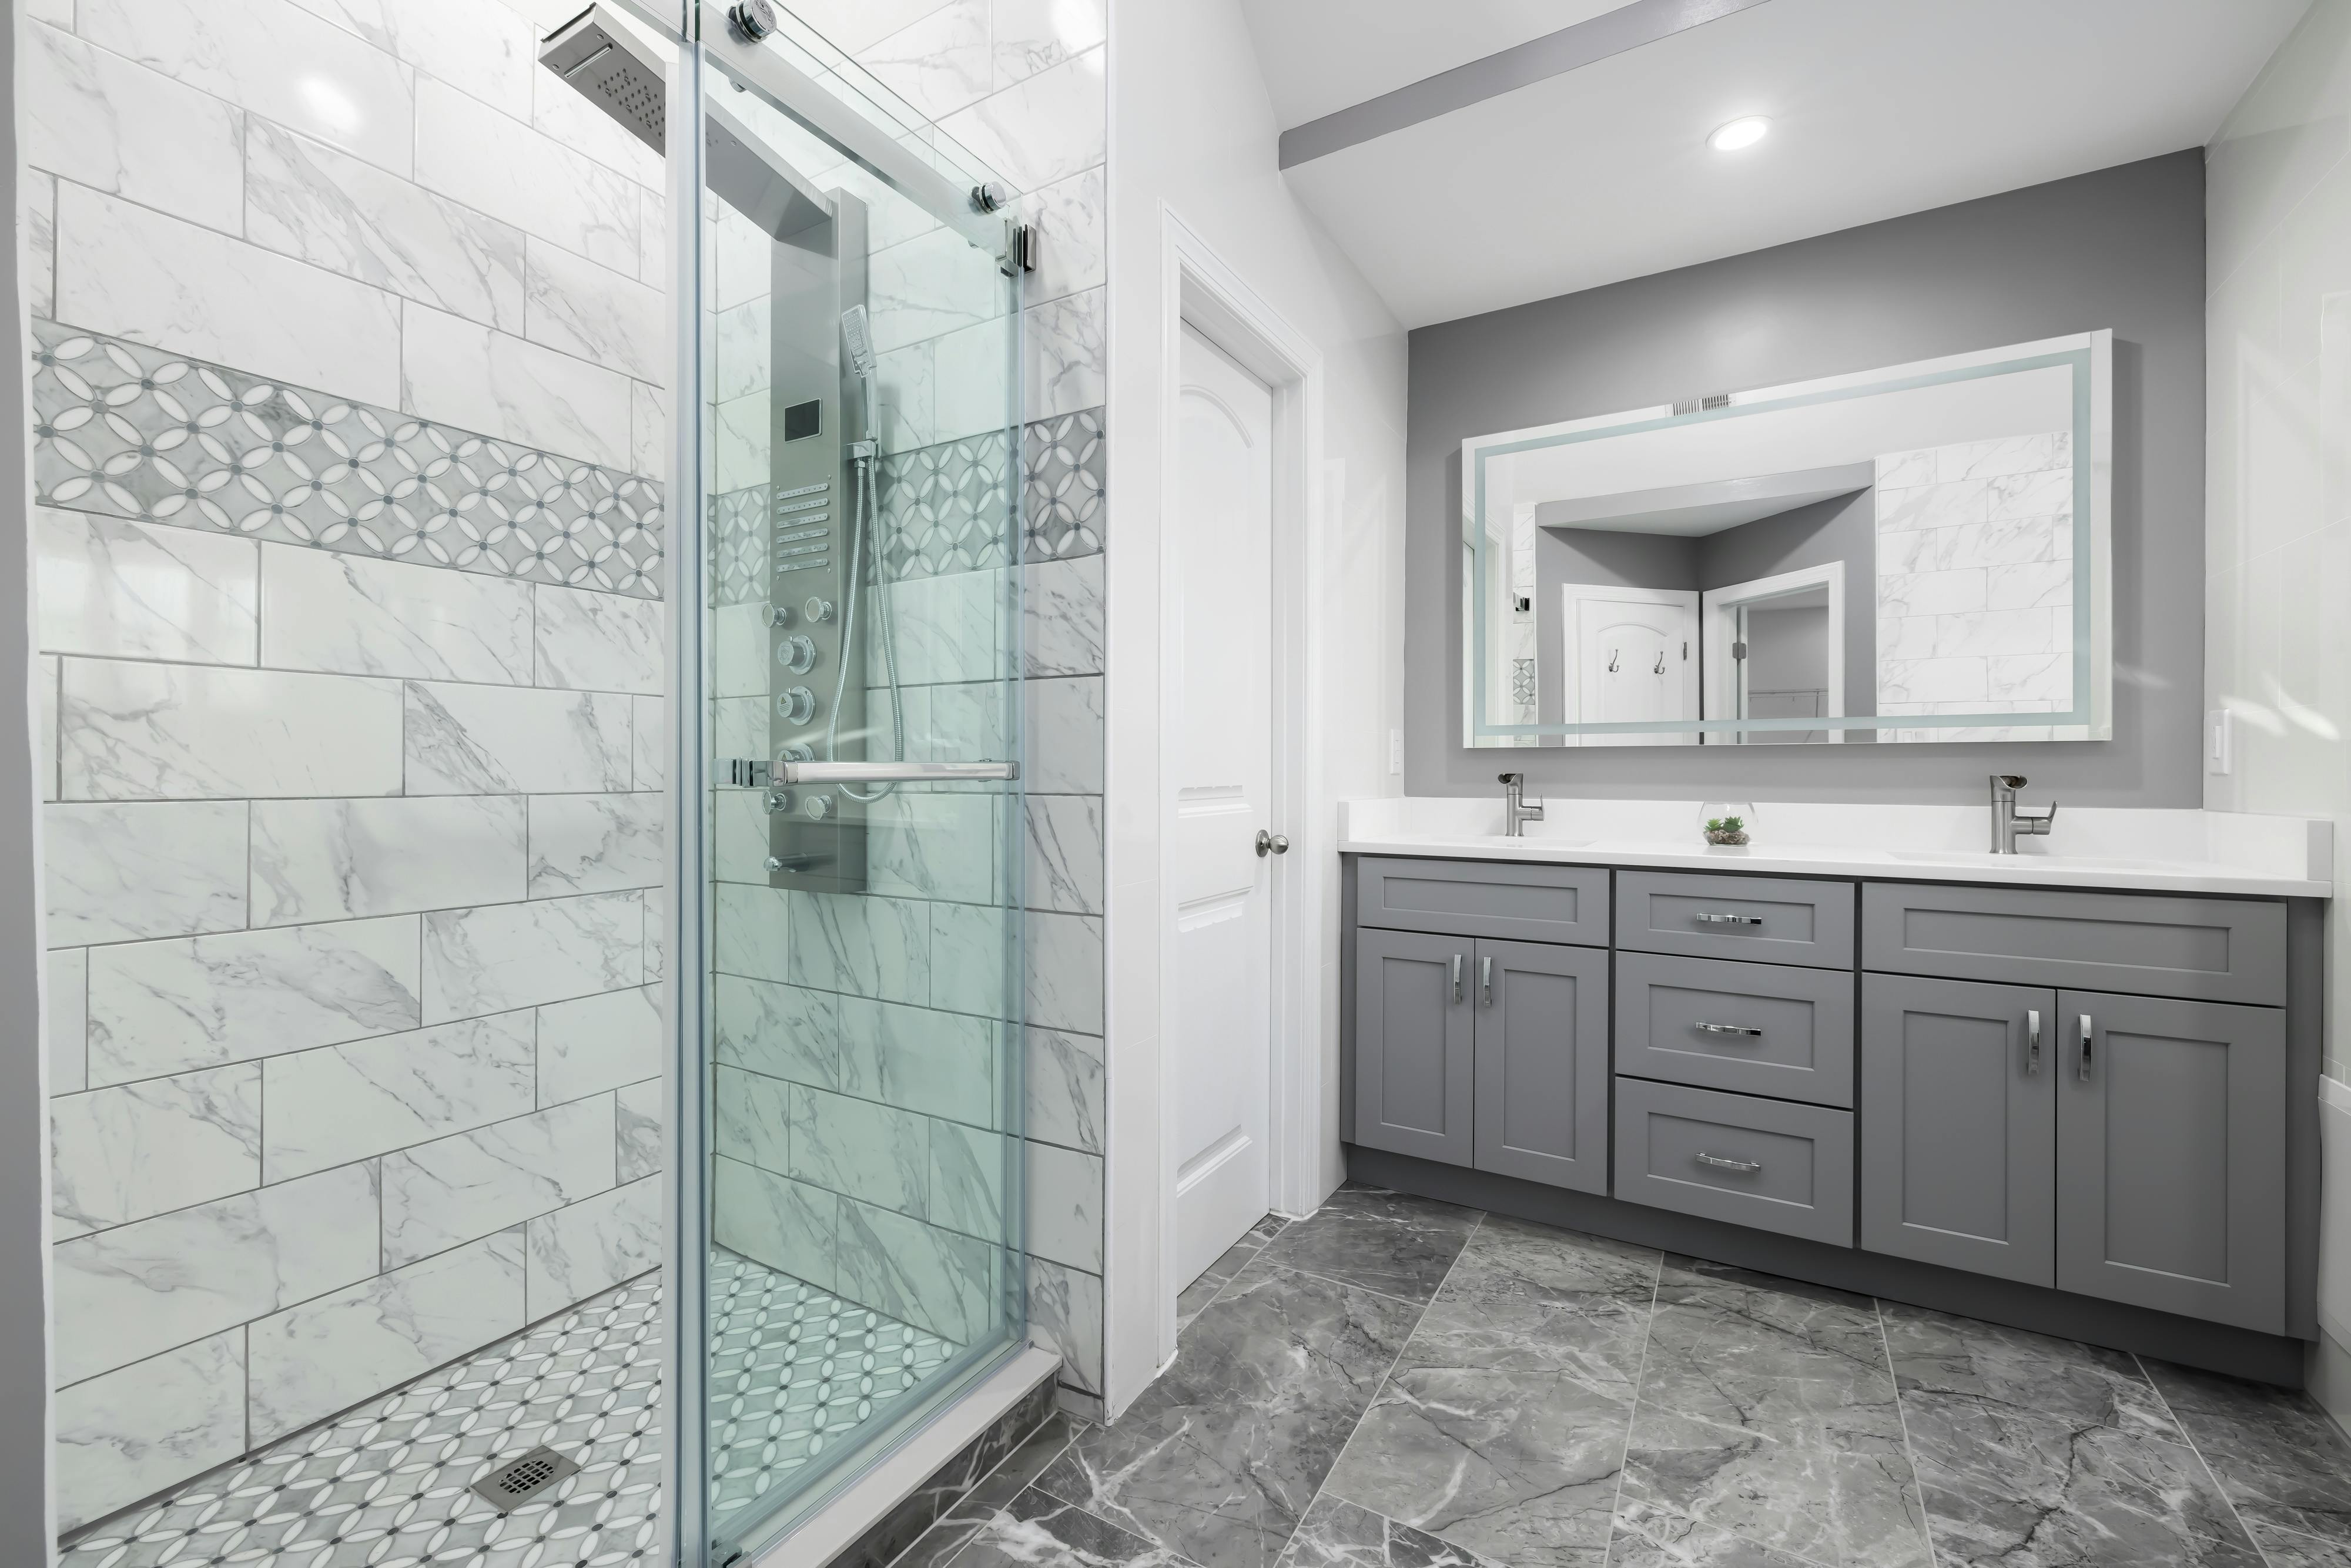
- Center drain strengths: classic and widely available, simpler rough-in in many homes, works well with mosaics that conform to the four-way pitch.
Drain selection is also tied to budget, plumbing location, and the waterproofing system. For a quick homeowner-friendly breakdown of considerations, we like the manufacturer overview on linear vs center drain selection factors, then we translate those points into a tile layout that fits your specific shower.
If you’re planning tile work as part of a remodel, our Alpharetta bathroom tile installation services page explains how we approach shower floors, walls, and waterproofing as one system, not separate tasks.
Tile layout rules that prevent odd cuts (before the first tile is set)
We treat shower layout like tailoring a suit. If the pattern is off at the start, the “fix” later is always obvious.
Rule 1: Place the drain to serve the tile module.
With a linear drain, we like aligning the drain length to the tile grid. A wall-to-wall linear drain at the back wall often lets us run full tiles to the drain with minimal edge cuts. If the drain is shorter than the shower width, we plan where the end cuts land so they don’t create skinny strips.
Rule 2: Use the “no tiny slivers” rule at the entry and the back wall.
We aim for balanced cuts on both sides, and we avoid narrow strips along the glass line or curb. Those slivers crack easier, look busy, and draw the eye.
Rule 3: Confirm the shower is square before locking the layout.
Most showers are a little out of square. We dry-lay reference lines and “cheat” cuts where the eye won’t focus (often at the back wall, not at the entry). This one habit saves a lot of ugly grout joints.
Rule 4: Center drains usually demand a different tile choice.
If you insist on large-format tile with a center drain, we plan for envelope cuts around the drain. It can be done, but the layout gets more complex, and the risk of lippage and puddling rises. In many cases, switching to a mosaic on the floor keeps the surface safer and cleaner.
When the shower is part of a bigger project, drain and tile decisions affect more than the bathroom. Floor heights, transitions, and even stair landings can change. That’s why we often coordinate tile layout alongside full remodeling scopes through our home remodeling services so floors, baths, and trim details all land correctly.
How we avoid “birdbaths”: slope, drain height, and the details people don’t see
A birdbath is that shallow low spot where water collects and sits. It’s not just annoying; standing water can discolor grout and keep a shower feeling “never quite clean.”
Birdbaths usually come from one of these issues:
Inconsistent pitch: The floor needs continuous fall toward the drain. Many installers target about 1/4 inch per foot, but we follow local code, product requirements, and what the site conditions allow. The key is not the exact number; it’s no reverse slopes.
Drain set too high or too low: If the drain height isn’t tuned to the mortar bed or foam pan, we can get a flat ring around the drain or a hump that pushes water away.
Large-format tile fighting a four-way slope: Big tiles can “bridge” across planes and create subtle low spots at corners. That is why center drains tend to pair better with mosaics.
For a standards-based explanation of why every surface must pitch correctly, we often point homeowners to the Ceramic Tile Foundation article, why tile must slope to the drain. It matches what we see in the field.
We also believe in simple proof. Before finish-out, we verify drainage during testing. If you want to see how ponding shows up in real life, the video example on shower floor puddling from bad slope shows why “almost sloped” is still a problem.
If you’re hiring for more than a shower, we can keep everything under one roof. Many homeowners find us while searching for the best flooring contractor in alpharetta ga, a bathroom remodeling contractor in alpharetta and Milton, the best local kitchen remodeling contractor in alpharetta, a top hardwood floor sanding contractor in alpharetta, a tile installation company Alpharetta, a Stair company Alpharetta, or a stair contractor alpharetta. We also get calls from clients who want the best flooring company alpharetta and milton or the best kitchen contractor alpharetta, then realize the shower floor needs the same level of planning and precision.
Conclusion: choose the drain that matches the tile, not the other way around
Linear drains make large-format shower floors easier because the slope can stay on one plane. Center drains remain a solid option, especially with mosaics that follow a four-way pitch. When we plan the drain location, tile size, and layout lines together, we avoid odd cuts and stop birdbaths before they form.
For a free estimate, call us at 470-352-1156. If you show us any existing written quote from another contractor, we’ll beat it by 5% (same scope and comparable materials). You can also reach us through our contact page for free estimates and learn more about how we work on our Alpharetta flooring and remodeling specialists page.