A vinyl plank bathroom floor can look perfect on day one and still fail fast if the surface under it is not flat. In a small room, even a shallow dip can telegraph through planks, stress the click-lock joints, and turn a clean install into a floor that shifts, squeaks, or separates.
We approach bathroom subfloor leveling like setting a foundation for tile: measure first, mark what we find, then fix only what the floor needs. Below is our step-by-step checklist we use to get a stable, smooth base for a flawless vinyl plank install.
Why bathrooms demand stricter subfloor checks
Bathrooms punish subfloors. Moisture changes, toilet leaks, and heavy point loads (vanities and tubs) tend to expose weak spots. Vinyl plank is forgiving compared to tile, but it still needs a flat plane so planks lock tight and stay tight.
When a bathroom subfloor is uneven, problems usually show up as:
- Minor “bounce” near seams or along the toilet path
- Clicking or squeaks from panel movement
- Gaps at plank joints after a few weeks
- A floor that feels wavy in strong light
Many manufacturers publish flatness limits (often measured with a long straightedge). We always confirm the exact requirement in the product instructions before we start.
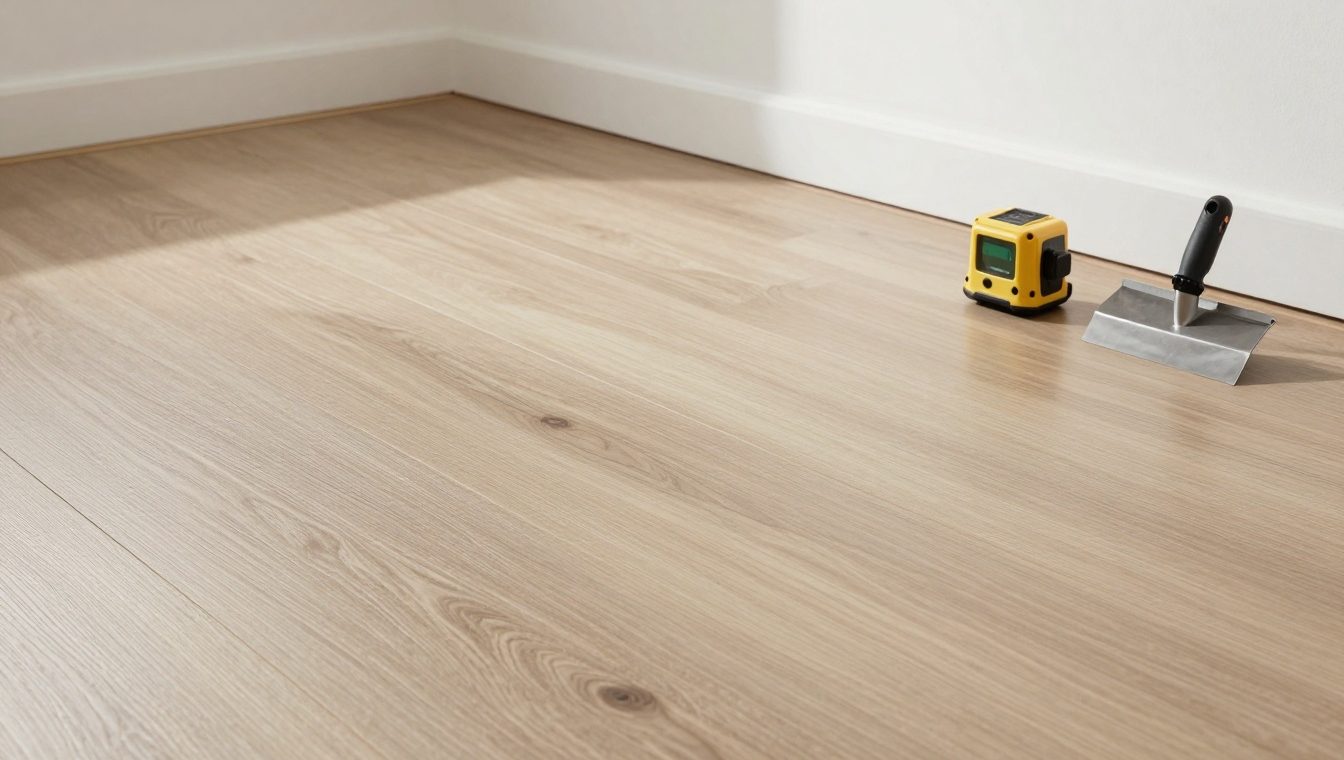
Tools we use for accurate bathroom subfloor leveling
Good prep is not guesswork. We bring simple tools that reveal what the eye misses.
Our “must-have” leveling kit includes:
- A 6-foot straightedge (or a very straight level)
- Feeler gauges (or stacked shims) to measure gaps
- Pencil or chalk for mapping highs and lows
- Moisture meter (bathrooms earn this extra step)
- Deck screws and a drill (panel movement must stop)
- Floor patch or a self-leveling underlayment (the right one depends on depth and area)
If you want background on leveling compounds and mixing tools, a short visual overview can help before you buy materials, such as this guide on floor levelling compound for vinyl plank. For product specs and thickness ranges, we also reference manufacturer data like SikaLevel self-leveling underlayment so the method matches the substrate and height limits.
Step-by-step checks: how we level a bathroom subfloor before vinyl plank
1) Remove obstacles and expose the entire subfloor
We pull the toilet (when the scope allows), remove baseboards and shoe molding, and clear the doorway threshold. A full view matters because “one small hump” often connects to a seam or a loose panel edge.
We also look for structural red flags: dark staining, swollen OSB, soft plywood, or past leak paths. Leveling compound cannot fix rot.
2) Confirm the subfloor is stable before you chase flatness
Flat and loose is still a failure. We walk the floor slowly and listen for squeaks, then drive screws where panels move. If seams are proud because nails backed out, we reset them.
A simple rule we follow: if the floor moves underfoot, leveling work will crack or separate later.
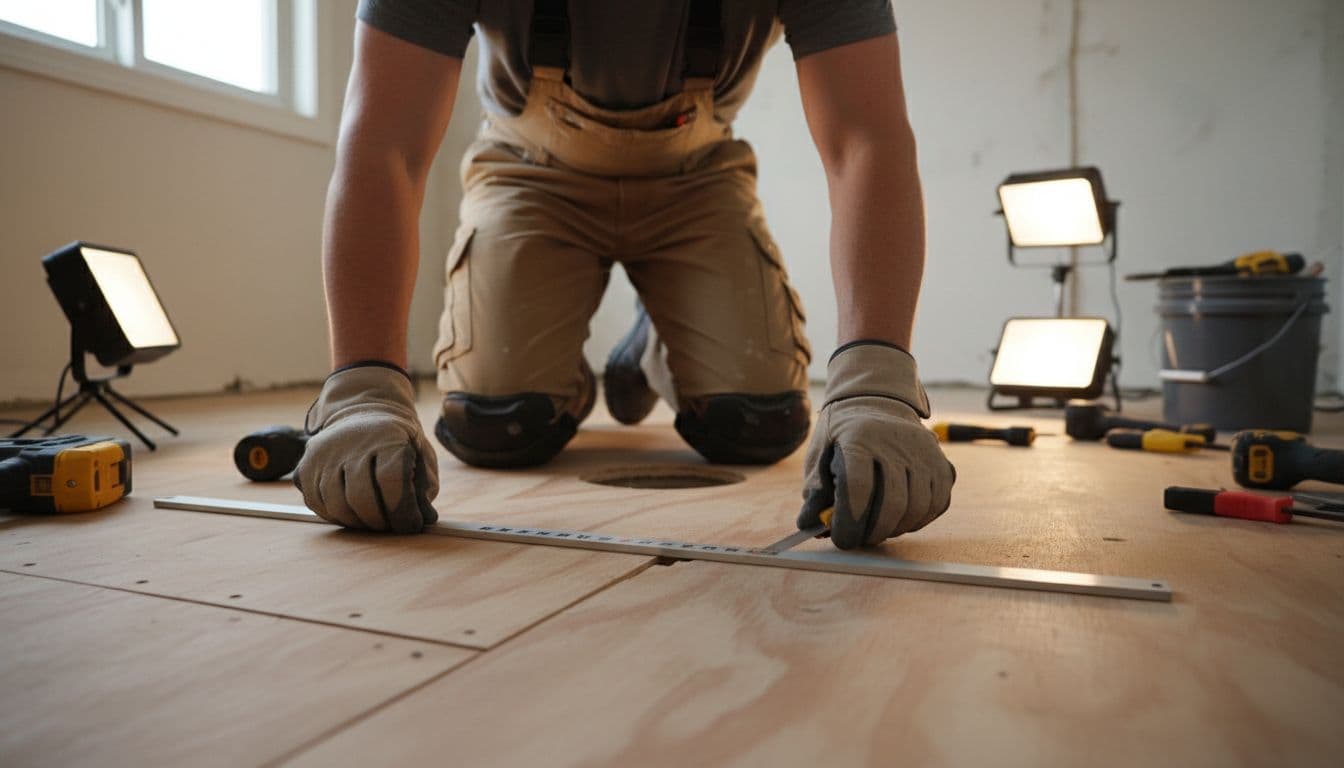
3) Measure flatness with a straightedge (do not rely on a bubble level)
This is the heart of bathroom subfloor leveling. We place a straightedge across the room in several directions:
- Doorway to toilet flange
- Along panel seams
- Across the room width at the vanity line
Then we slide a feeler gauge into the gap at the lowest point and write the measurement on the floor. The goal is not “perfectly level to gravity,” it is “flat enough that planks are supported.”
4) Map high and low areas, then check moisture near the flange and tub line
We mark high spots with an “H” and low spots with an “L,” then draw quick outlines so we can see if we are dealing with one crater or an entire slope.
Bathrooms also deserve a moisture check, especially around the toilet flange cutout and near the tub. If moisture is elevated, we stop and address the source first. Covering moisture with vinyl plank is like painting over a drip stain, it comes back.
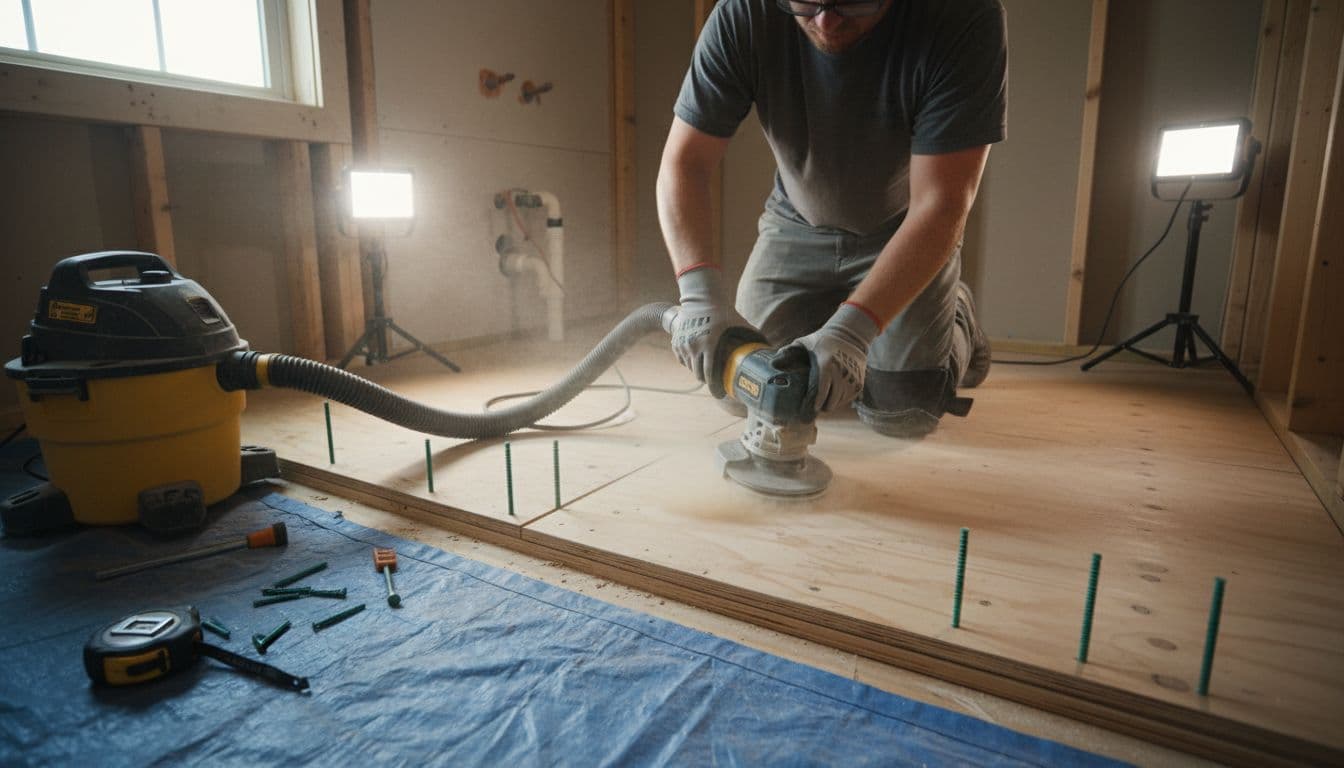
5) Choose the right fix: grind highs, fill lows, or pour a leveler
We do not pour self-leveler over problems that should be removed.
High seams and ridges: We sand or grind them down, vacuum dust, then re-check with the straightedge.
Shallow low spots: A quality floor patch often works well, cures faster, and avoids raising the entire room.
Multiple dips or broad slopes: A self-leveling underlayment is usually cleaner and more predictable, as long as the subfloor is primed and sealed where required.
For an overview of how floor prep ties into the full vinyl plank process, Home Depot’s guide on how to install vinyl plank flooring is a helpful reference.
6) Pour self-leveler in a controlled way (if needed)
When we pour, timing matters. We pre-measure water, stage buckets, and maintain a wet edge. We protect the toilet flange opening and keep compound out of places that must stay clear.
After spreading, we let the product cure fully. Walking on it early can leave shallow footprints that become permanent low spots.
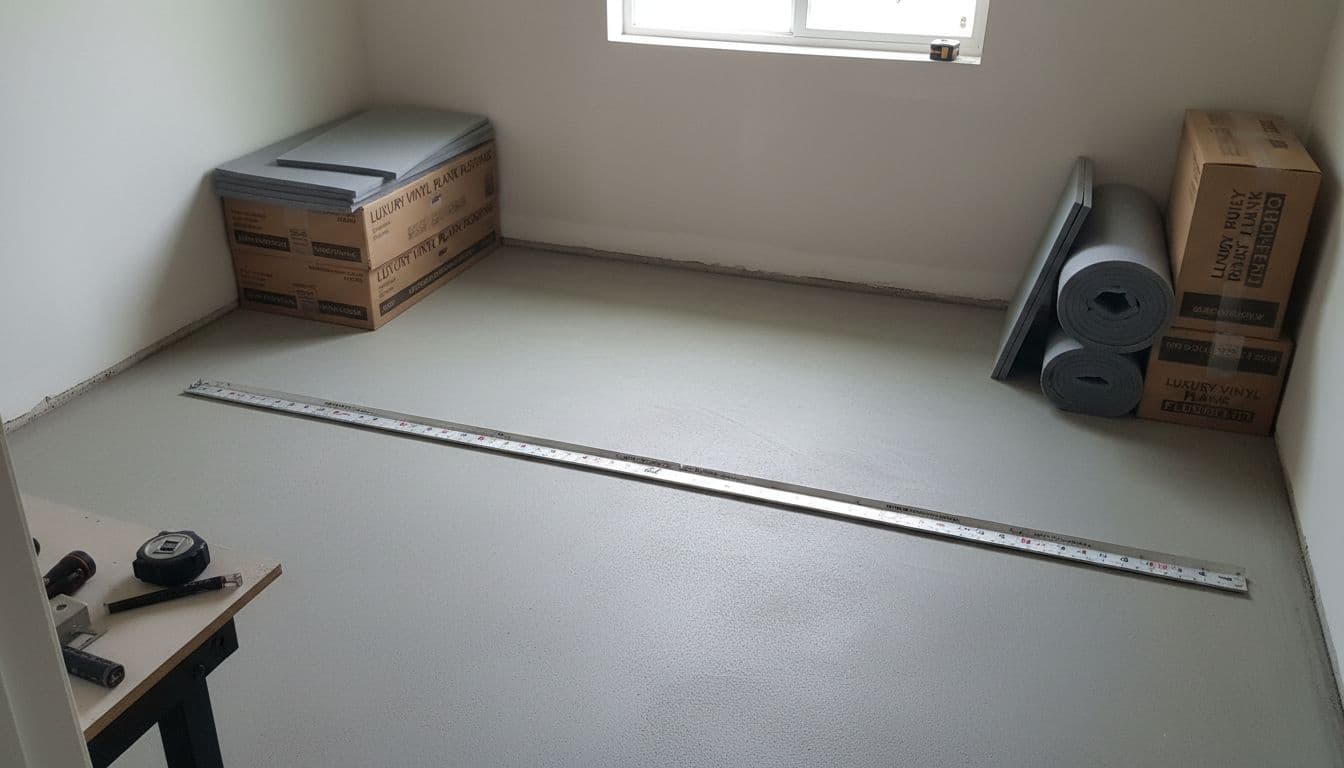
7) Re-check flatness after curing, then prep for underlayment and plank
We run the straightedge again in the same paths we measured earlier. If a small dip remains, we address it with patch, not with “hoping the underlayment hides it.”
A finished subfloor should feel boring underfoot. No bounce, no squeaks, no soft edges.
Bathroom-specific trouble spots we watch closely
A bathroom has predictable “problem lines,” and we plan for them.
Toilet flange zone: Old wax rings and past leaks can leave soft plywood. We repair the structure before leveling.
Doorway transition: Many bathrooms have a hump at the threshold from layers of old flooring. We flatten it early so the new transition sits clean.
Tub and vanity edges: These lines hide dips until the plank clicks start to separate. We measure there, even if it “looks fine.”
When it is smarter to hire a contractor (and what we cover)
If your bathroom floor has deep dips, damaged panels, or signs of moisture, professional prep saves time and materials. As a flooring contractor in alpharetta ga, we handle both the diagnosis and the correction so vinyl plank performs the way it should.
We also coordinate related work when it affects floor performance, including service as a bathroom remodeling contractor in alpharetta and Milton and a local kitchen remodeling contractor in alpharetta when projects overlap. If your home needs refinish work elsewhere, we can also help as a hardwood floor sanding contractor in alpharetta.
For a free estimate, call us at 470-352-1156. If you show us any existing quote from another contractor, we beat it by 5%.
Conclusion
A smooth vinyl plank bathroom floor starts with disciplined bathroom subfloor leveling, not a rushed install. When we measure, stabilize, correct, and verify in that order, the finished floor stays tight, quiet, and comfortable for years. If you want us to inspect your bathroom subfloor and price the job, call 470-352-1156 for a free estimate, and bring any competing quote so we can beat it by 5%.